
 Pin
Pin
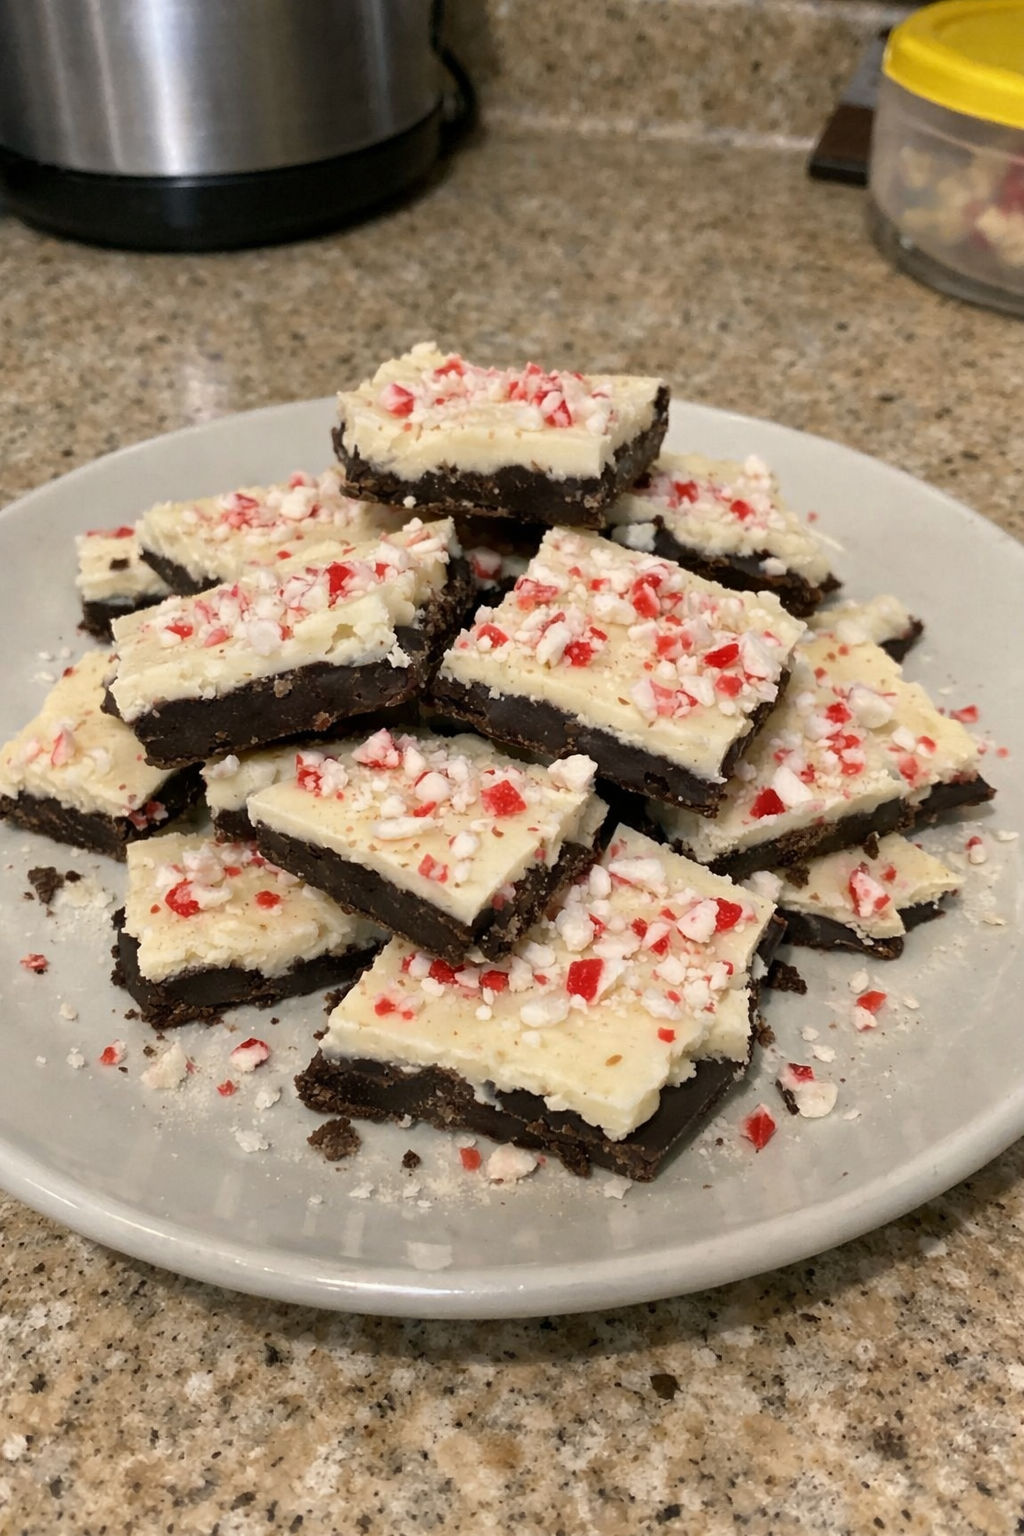
This two-layer candy uses a dark chocolate base and a white chocolate topping with crushed peppermint. Its quantities follow King Arthur’s peppermint bark; the added value here is explaining decisions about materials, layer readiness and handling. It is not presented as a newly invented formula or a kitchen-tested product of A Pinch Of Lemon.
Choose the chocolate and prepare the work area
Read both chocolate labels before beginning. White chocolate containing cocoa butter and compound candy coating made with other fats are different materials and may need different handling. Chopped bars are the intended starting point; chips designed to retain their shape can be harder to spread when melted. Keep any manufacturer melting or tempering instructions with the ingredients.
Line a flat tray and make room for it to sit level while setting. Prepare crushed candy and flavoring before melting chocolate. Keep the bowl, spatula and tray dry. If using a bowl over hot water, keep the water below the bowl and prevent steam or splashes from reaching the chocolate. Low heat does not compensate for water entering the mixture.
Melt with dry tools and gentle heat
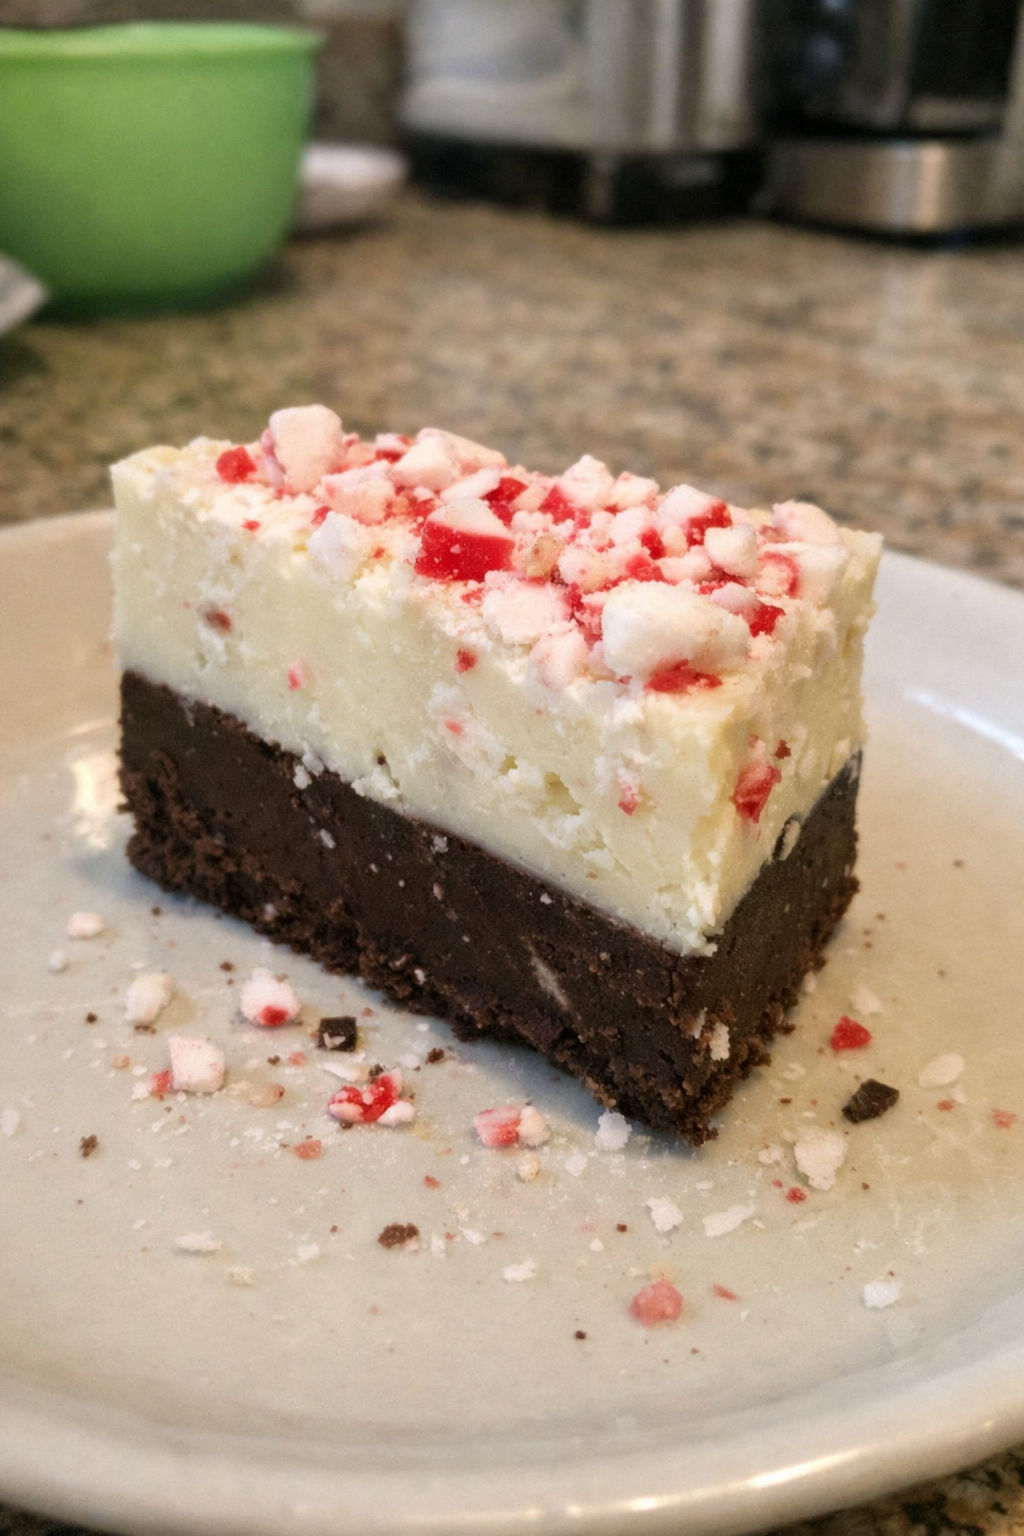
Warm dark chocolate gently, stirring and stopping when the remaining small pieces can melt from residual heat. Do not continue heating merely because the mixture is not extremely fluid. Check the flavoring label for use in chocolate: highly concentrated peppermint oil is measured in drops, not in the same spoonfuls as extract. Never use a non-food-grade essential oil.
Spread the dark layer over the prepared area as evenly as possible. Thin edges harden sooner than a thick center, which makes one timer a poor guide to the whole slab. Look at several points along the surface before adding the second layer. Keep the tray level rather than tilting repeatedly and building a thick ridge at one end.
Judge the first layer before topping
The first layer should hold its shape but still accept the next layer, rather than becoming a hard cold sheet. A completely liquid base can mix with the white chocolate; a fully hardened surface may not bond as readily. These are texture cues, not a guaranteed number of minutes. Room temperature, tray material and chocolate formulation can all change the waiting period.
Melt white chocolate gently according to its label. Avoid treating its lighter color as an invitation to use more heat; it can scorch. Stir half of the crushed candy into the white layer, then spoon it across the dark layer in several places. Distributing it before spreading reduces the need to drag one large mound across the surface.
Spread the white layer without dragging
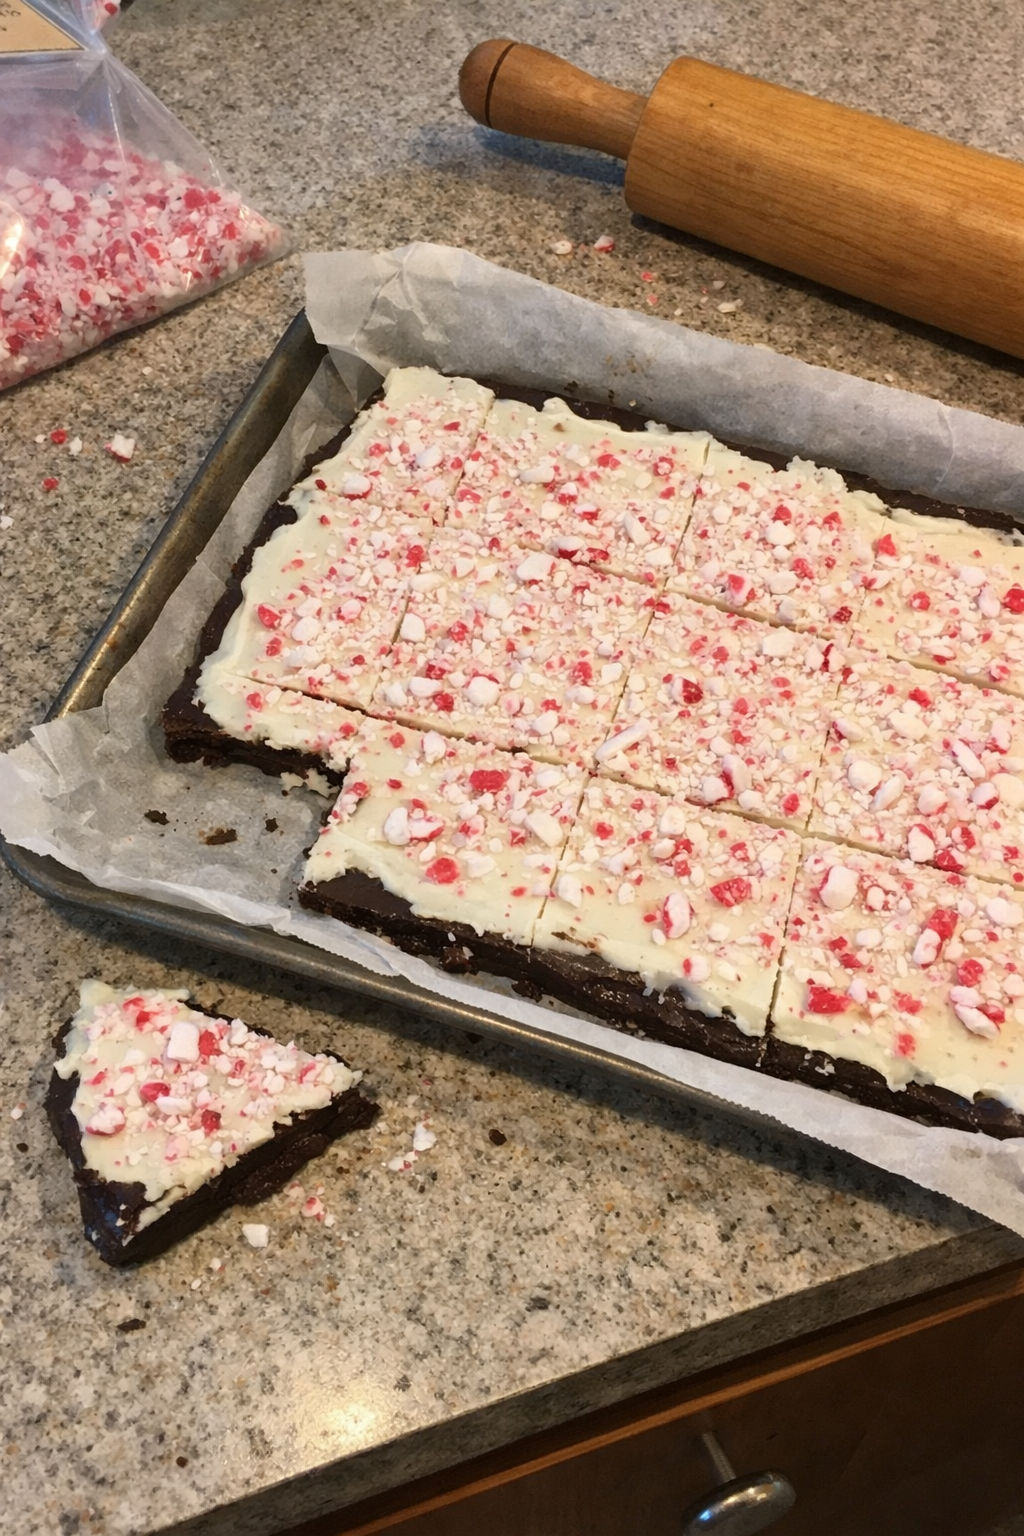
Use light strokes to join those patches into a layer. Stop if vigorous spreading begins pulling up the base. Sprinkle the remaining candy while the surface can still hold it and press very gently. Crushing candy into manageable small pieces helps distribute crunch without creating large hard pieces that make portioning awkward.
Tempering is a controlled chocolate process, not another word for melting. This simple version does not include a full tempering schedule, so no firm snap, gloss or warm-room stability is guaranteed. Follow a reliable manufacturer-specific tempering method if those properties are important, especially for gifting or transport.
Cut, pack and store
Let the whole slab set before lifting it with support underneath. For irregular pieces, break gently; for a cutting pattern, use a sharp knife on a stable board and avoid forcing a deeply chilled brittle slab. If layers separate, review the chocolate types and first-layer state next time. Do not describe a reheating repair as guaranteed for every combination.
Store pieces covered, with parchment between layers, in a cool place away from direct sun and strong odors. The linked recipe recommends up to a week at room temperature and freezing for longer keeping. That is recipe storage guidance, not a validated warm-weather shipping life. No new shelf-life testing has been performed for this version.
For another candy-making method, Fantasy Fudge sets after a cooked sugar stage rather than chocolate layering. Pumpkin cinnamon rolls offer a baked alternative but need rising time and refrigeration after cream-cheese frosting. Select a gift based on its actual storage needs, and disclose milk, soy or other allergens shown on the chocolate and candy labels.
Common Questions About This Recipe
- Why did the layers peel apart?
Check whether the first layer had hardened completely before topping and whether the two products used compatible chocolate ingredients. No one timing rule fits every brand and room temperature.
- Is melting the same as tempering?
No. Tempering follows a controlled process to manage chocolate structure. Merely melting and cooling does not guarantee the same shine or snap.
- Can peppermint oil replace extract spoon for spoon?
No. Use only food-grade flavoring intended for the application and follow its concentration guidance. Drops of concentrated oil are not equivalent to teaspoons of extract.
- Can I substitute candy coating for white chocolate?
It is a different material. Follow its manufacturer’s instructions and expect different flavor and setting behavior rather than assuming a direct equivalent.
- Can I mail the bark in warm weather?
This recipe does not establish a safe or attractive shipping life in heat. Chocolate can soften and candy pieces can absorb moisture; use appropriate packaging and storage planning.
- What does this page add to the original formula?
It explains ingredient-label choices, the two competing layer-readiness problems, and the limits of an untempered method. The published formula is attributed rather than claimed as a new invention.