
 Pin
Pin
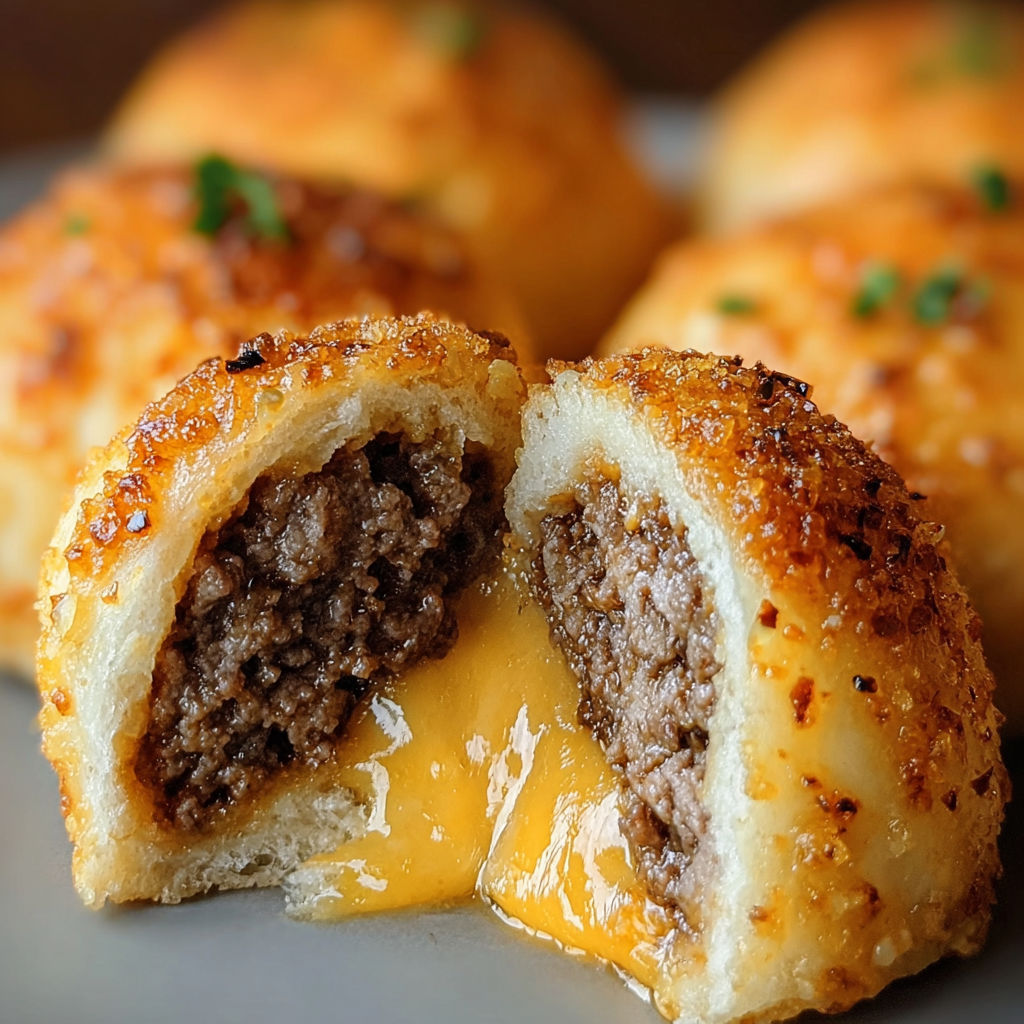
Refrigerated biscuit dough encloses a cooked beef filling mixed with Cheddar and cream cheese. Pinch each parcel closed before brushing with butter and Parmesan. The key checks are the seam, the dough underneath and the hot filling—not just the color of the top.
No. Cook and drain it before adding the cheeses. Raw beef inside a thick biscuit would need a different method, and its juices could soak the dough before the center cooks. Let the cooked filling stop steaming heavily so it is easier to handle.
Ingredient amounts and preparation
- Set out: 1 pound ground beef, lean
- Set out: 1 teaspoon garlic powder
- Set out: 1 teaspoon onion powder
- Set out: Salt, to taste
- Set out: Black pepper, to taste; 1 cup shredded cheddar cheese
- Set out: 1/2 cup cream cheese, softened
- Set out: 1 can (16 ounces) refrigerated biscuit dough
- Set out: 1/4 cup grated Parmesan cheese
- Set out: 2 tablespoons unsalted butter, melted; Fresh parsley, chopped (optional)
Cooking sequence and doneness
- Stage 1
- Heat the oven to 375°F and prepare a baking sheet.
- Stage 2
- Cook ground beef with garlic powder, onion powder, salt and pepper to 160°F, breaking it into small pieces; drain excess fat.
- Stage 3
- Off the heat, fold in Cheddar and cream cheese and let the filling stop steaming heavily.
- Stage 4
- Separate the biscuit dough and flatten each piece to about four inches, keeping enough thickness to seal.
- Stage 5
- Add a heaped tablespoon of filling, adjust for the dough size, and pinch all edges securely; save excess filling separately.
- Stage 6
- Arrange seam-side down with gaps, brush with melted butter and scatter Parmesan. Bake about 20–25 minutes, continuing as needed until the dough is cooked through and the filling reaches 165°F; add parsley and cool briefly before eating.
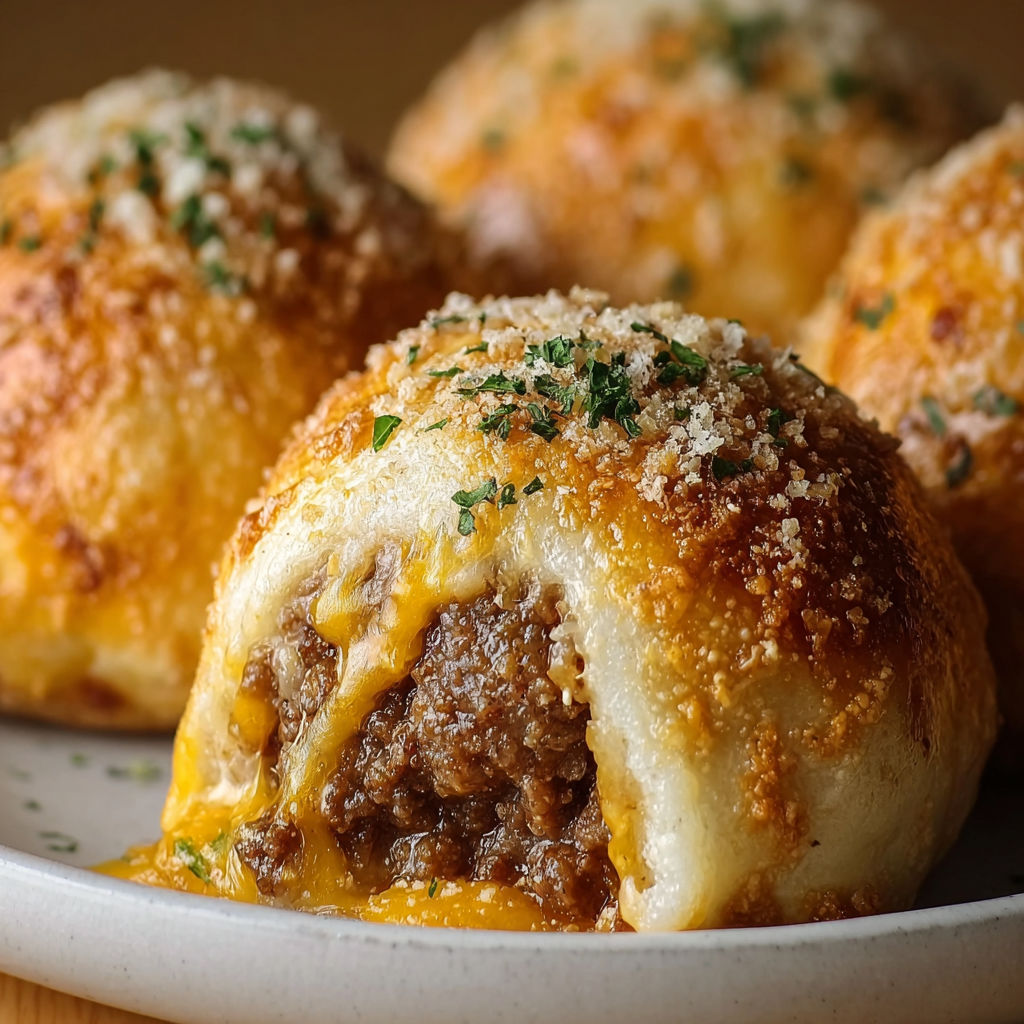
Flatten one biscuit to about four inches across and begin with a heaped tablespoon of filling. Keep a clean border for sealing. Biscuit counts and dough thickness vary by brand; reserve excess filling rather than stretching the dough until it tears.
What happens to surplus filling?
Heat and serve it separately or refrigerate promptly for another meal. The one-pound beef batch plus cheeses can exceed what some cans of biscuits hold. The amount that fits safely matters more than forcing the entire bowl into a fixed number of parcels. The tray supports the sealed edge as the dough expands. Firmly pinch any gaps before turning it over, then leave space around each parcel. Escaping cheese is easier to limit at shaping time than to repair during the bake.
How do I check the dough?
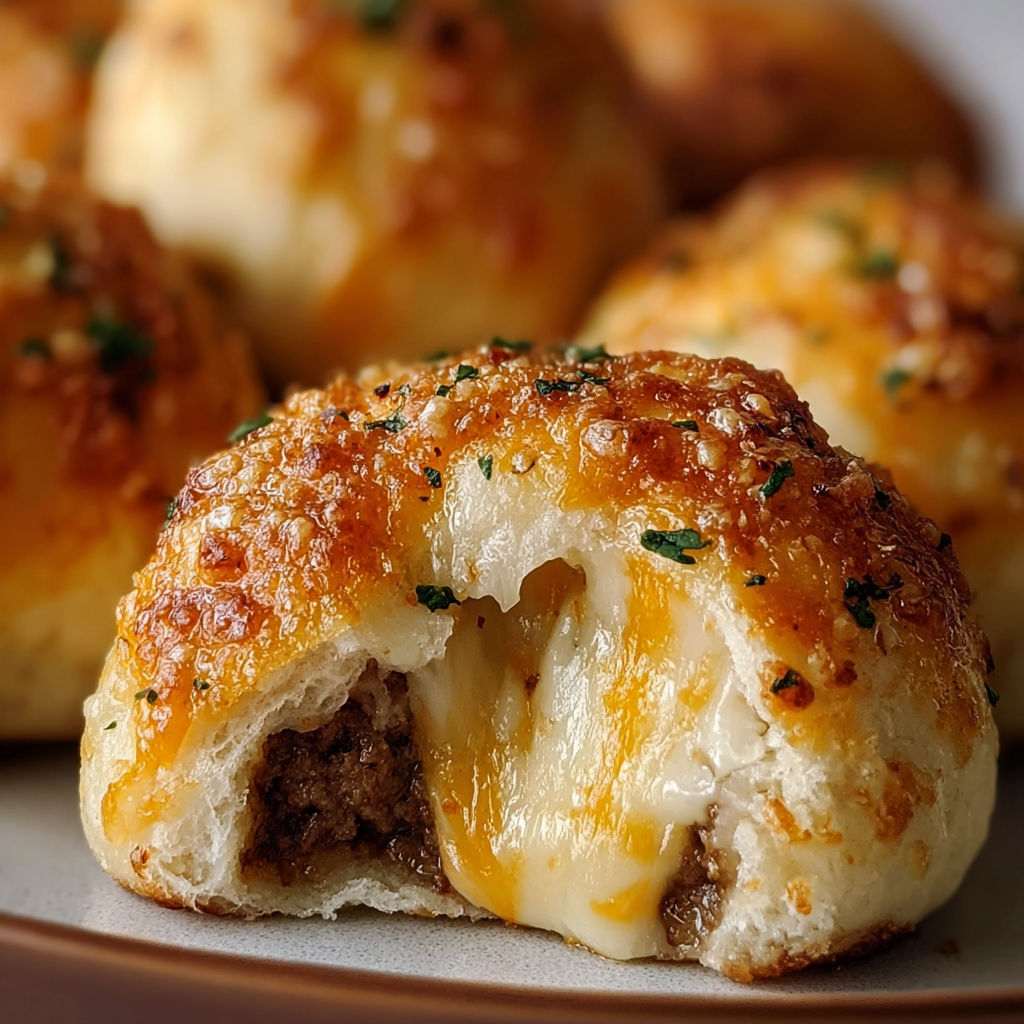
Look at the underside and the thicker folds as well as the top. If the surface colors first, shield it loosely and continue baking. A temperature check of the filling does not by itself establish that a thick fold of dough is baked through.
Storage and serving later
Refrigerate perishable leftovers promptly in shallow containers at 40°F or below; do not wait for a large hot batch to cool completely on the counter. University of Illinois Extension’s leftover guidance gives a three-to-four-day refrigerated window and 165°F for reheating foods served hot. Keep cold salads and toppings chilled, and follow shorter product-label limits where applicable.
For another complete recipe, see Pizza-Style Beef Tortilla Bake with Ricotta and Pepperoni or Cheesy Beef and Shells Casserole with Tomato Soup. Each has its own ingredient quantities and cooking sequence; keep those measurements separate when choosing a meal. USDA’s temperature guidance specifies 160°F for ground beef. Thermometer placement guidance explains checking the thick center rather than relying on surface color.
Common Questions About This Recipe
- Does the beef go in raw?
No. Cook and drain it before adding the cheeses.
- How much can each biscuit hold?
Flatten one biscuit to about four inches across and begin with a heaped tablespoon of filling. Keep a clean border for sealing.
- What happens to surplus filling?
Heat and serve it separately or refrigerate promptly for another meal. The one-pound beef batch plus cheeses can exceed what some cans of biscuits hold.
- Why place the seam underneath?
The tray supports the sealed edge as the dough expands. Firmly pinch any gaps before turning it over, then leave space around each parcel.
- How do I check the dough?
Look at the underside and the thicker folds as well as the top. If the surface colors first, shield it loosely and continue baking.